You parked your camper during the cold winter months, but now as the new season approaches, you can’t wait to hit the road again. But before you head out, spend some time spring-cleaning your RV as well as handling those must-do maintenance tasks to ensure your camper is both comfortable and road-worthy!
Need to dewinterize your camper? Follow the instructions in the owner’s manual that came with your rig. You can also view our dewinterization videos for each of our models here.
Here is a quick review of what to do and check inside and out.
Inside
Prep your RV for spring from top to bottom.
Start your inspection at the top and work your way down, doing a visual examination of the ceiling and walls to check for signs of mildew (fluffy or powdery residue white, gray, or yellow in color) or water leaks, such as discoloration or ripples in the wallpaper, says RV Life Pro. Then give it the touch test: run your hand along the wall and ceiling to identify any soft spots.

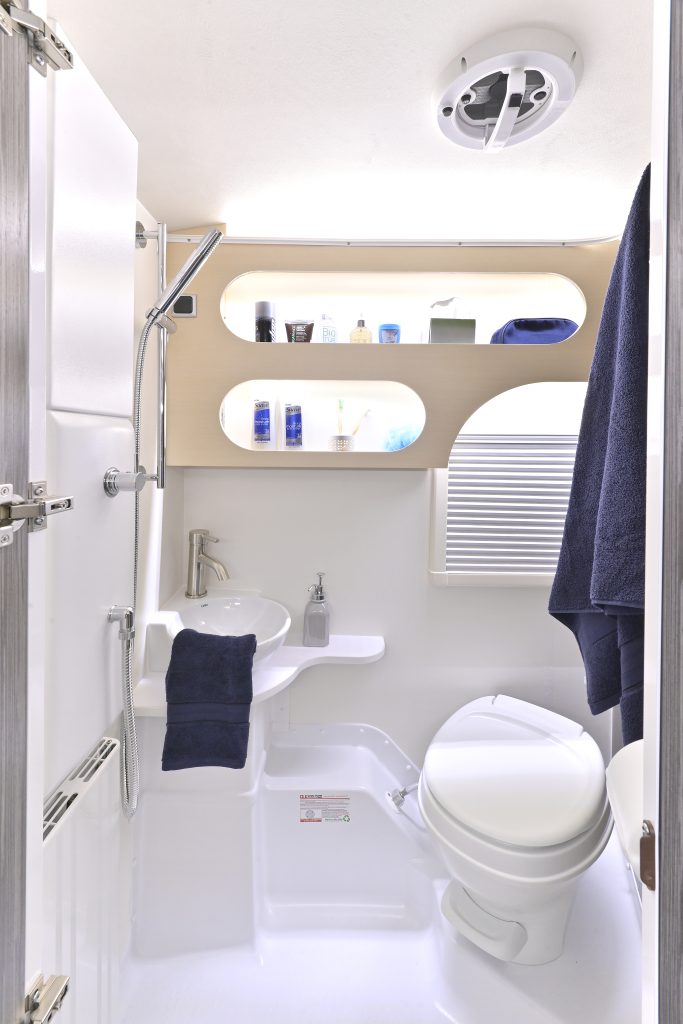
Don’t forget to look inside cabinets, behind furniture and appliance, and especially in the bathroom around the toilet base. Walk around the interior of the camper to sense any soft spots that could indicate damaged floorboards due to water leaks.
If you find problem areas, you’ll want to discover the source of the water or moisture (e.g. damaged seam or seal or a leaking pipe), repair it, then clean or replace the damaged areas. Depending on the extent of damage, repair costs can quickly add up. That’s why following the “ounce of prevention is worth a pound of cure” adage makes good sense, meaning routine checks can keep problems from getting out of control.
Protect your RV from pests.
As for the creepy crawlies, good places to scan are your appliances, propane tanks, and RV vents. You’ll also want to look for any cracks, tears, holes, or spaces that provide easy access for those little critters. Having a tiny gap around a pipe or slit in a window screen is like hanging out a “Welcome” sign to them. Get rid of the bugs and then repair or plug up the spaces they used to keep them from returning.
Give your RV a good cleaning for the new season.
Once your inspection and repair process is completed, it’s time to thoroughly clean the appliances, the interior and exterior of the cabinets, furnishings, and hard-surface flooring.

Move onto the soft surfaces: bedding, slipcovers, curtains, throw rugs, etc., says Do It Yourself RV. Depending on the material and manufacturer’s instructions, either dry-clean or machine-wash them. Don’t overlook the windows and screens. Even if your rig was covered for several months, both probably need a cleaning to get rid of any dust and grime. This is also a good time to make sure windows and blinds are fully operational and that latches are in good shape, says Good Sam in The Ultimate RV Spring Checklist.
Clean or replace the filters in your AC. Then give all your light fixtures a good cleaning. Whether wall-mounted or recessed, they can get a grease, grime, and dust build-up that will affect their ability to shine.
Check your RV safety equipment.
Last but not least, do a safety equipment check. That includes your smoke, propane, and CO detectors, fire extinguisher, and emergency light source. Is it time to replace the batteries or the detectors themselves? Does your fire extinguisher need to be refilled? Also, test your emergency exits to make sure they open quickly and easily. In an emergency, seconds count.
Remove any unnecessary gear.
Once the equipment is inspected, do a check of your first aid and emergency supplies, says KOA. Not sure what you might need? This post from Outdoorsy covers the essentials, which you can then modify for your specific needs. And don’t forget to check the expiration dates on any medications or ointments and replace them with new ones if needed.
Since you have to remove everything from your cabinets and storage compartments to clean them thoroughly, use this as an opportunity to do a “stuff purge,” says Lippert Components in this post. What kitchen or bathroom items have you been taking along for the ride that you never really use? What foodstuffs are past their expiration date or just not a favorite for mealtimes? What tools do you carry that you don’t ever use, but you bring “just in case”?
Your final task is to review all the paperwork related to your camper and tow vehicle. Is everything up to date? Do you have current emissions stickers if needed? Put all the paperwork in a protective envelope and stow it somewhere where you can get to it quickly if needed.
Outside
Now that the inside is all fresh and clean, move to the outside of your rig. Follow the same procedure: check for any damage or areas that need to be repaired or replaced, clean your camper, then test all the equipment. As always, refer to the manuals for your camper and related equipment for specific tips and instructions, as well as the recommended schedule for professional maintenance and/or replacement of components.
Start with a thorough cleaning of your camper, using the cleaner recommended by the manufacturer so you don’t damage the paneling. Our Tech expert says a high-quality automotive car wash soap would be a good choice. Just don’t use anything abrasive or acidic.
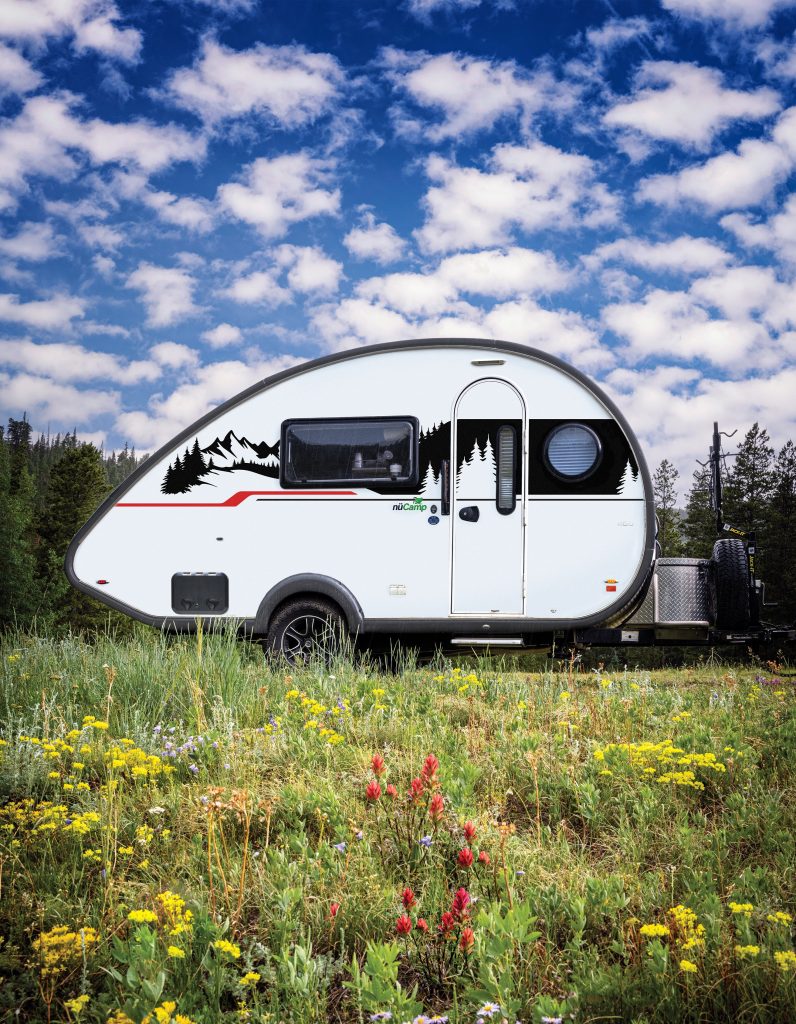
If you would like, you can apply a coat of wax to help protect the exterior of the unit, recommends RV Geeks. As a final step, thoroughly clean the tires and then apply UV protectant to help reduce the effects of exposure to the sun. If the trailer will be sitting in the sun, rotate the unit periodically to avoid excessive UV damage to just one tire, says our Tech expert.
Clean your awning using a brush and soapy water, then rinse thoroughly and leave it extended so it can thoroughly dry before storing, says Do It Yourself RV. While it’s open, check for any signs of damage or mildew.
Now that your rig is clean, it’s time for an inspection of parts and components. Always refer to the owner’s manuals for your camper and all appliances and equipment for information on maintenance schedules and recommendations. Use maintenance apps such as AUTOsist -Car/Fleet Maintenance (for both iOS and Android) or Ultimate RV Checklist (for both iOS and Android) to keep up to date.
- Seals and seams — See signs of cracks or deterioration? Apply new sealant or caulk, using the recommended formulation and type: self-leveling sealant for horizontal areas, non-self-leveling sealant for vertical areas, butyl or putty tape, or Eternabond tape. Not sure which one to use? This post from RV Geeks breaks it down, but always consult your RV owner’s manual or RV dealer to ensure you are using a sealant that’s compatible with the material you’re repairing.
- Hardware for doors — Clean and lubricate to ensure smooth operation. Refer to your owner’s manual for the appropriate lubricant to use.
- Lights — Check that all exterior lights operate as designed: running lamps, turn signals, stop lamps, brake lights, and safety lights.
- Tires — Inspect the tires for any indication of uneven tread wire, cracking, or bubbling. According to most expert statistics, the average life of a trailer tire under normal use and maintenance is five years, regardless of how minimal the use has been. Then refer to your manual for the proper tire pressure, listed on the Federal Certification/VIN label on your trailer’s tongue.
- Jacks, shackles, chains — Check all parts for signs of wear and replace as needed.
- Battery — Before using your camper in the summer season, have your dealer check your battery life and perform all necessary maintenance on your system. Then keep the terminals and cables clean and free of corrosion by cleaning periodically with a wire brush.
General tips
You may be sure that your rig is ready for the road, but just to be certain, follow this recommendation from Good Sam: undertake a shakedown trip. Load up your camper, do all your pre-trip checks, and then head out for a couple of hours. And don’t settle for city streets or relatively flat roadways. Go on the highway to see how everything behaves at higher speeds. Do some inclines and declines to verify that everything behaves as it should.
If all your systems pass, you’re ready for your travels!
Related Posts
For more tips, check out the following posts:
Camping Season Preparedness post
5 Maintenance Tasks for Your RV
Out of Storage and Back on the Road—RV Spring Readiness Tips
Camping Apps — Maintenance and Tips
How to handle creepy crawlies in your camper
Recent Articles

